To start go to:
and click


Step 1: Understanding the Interface
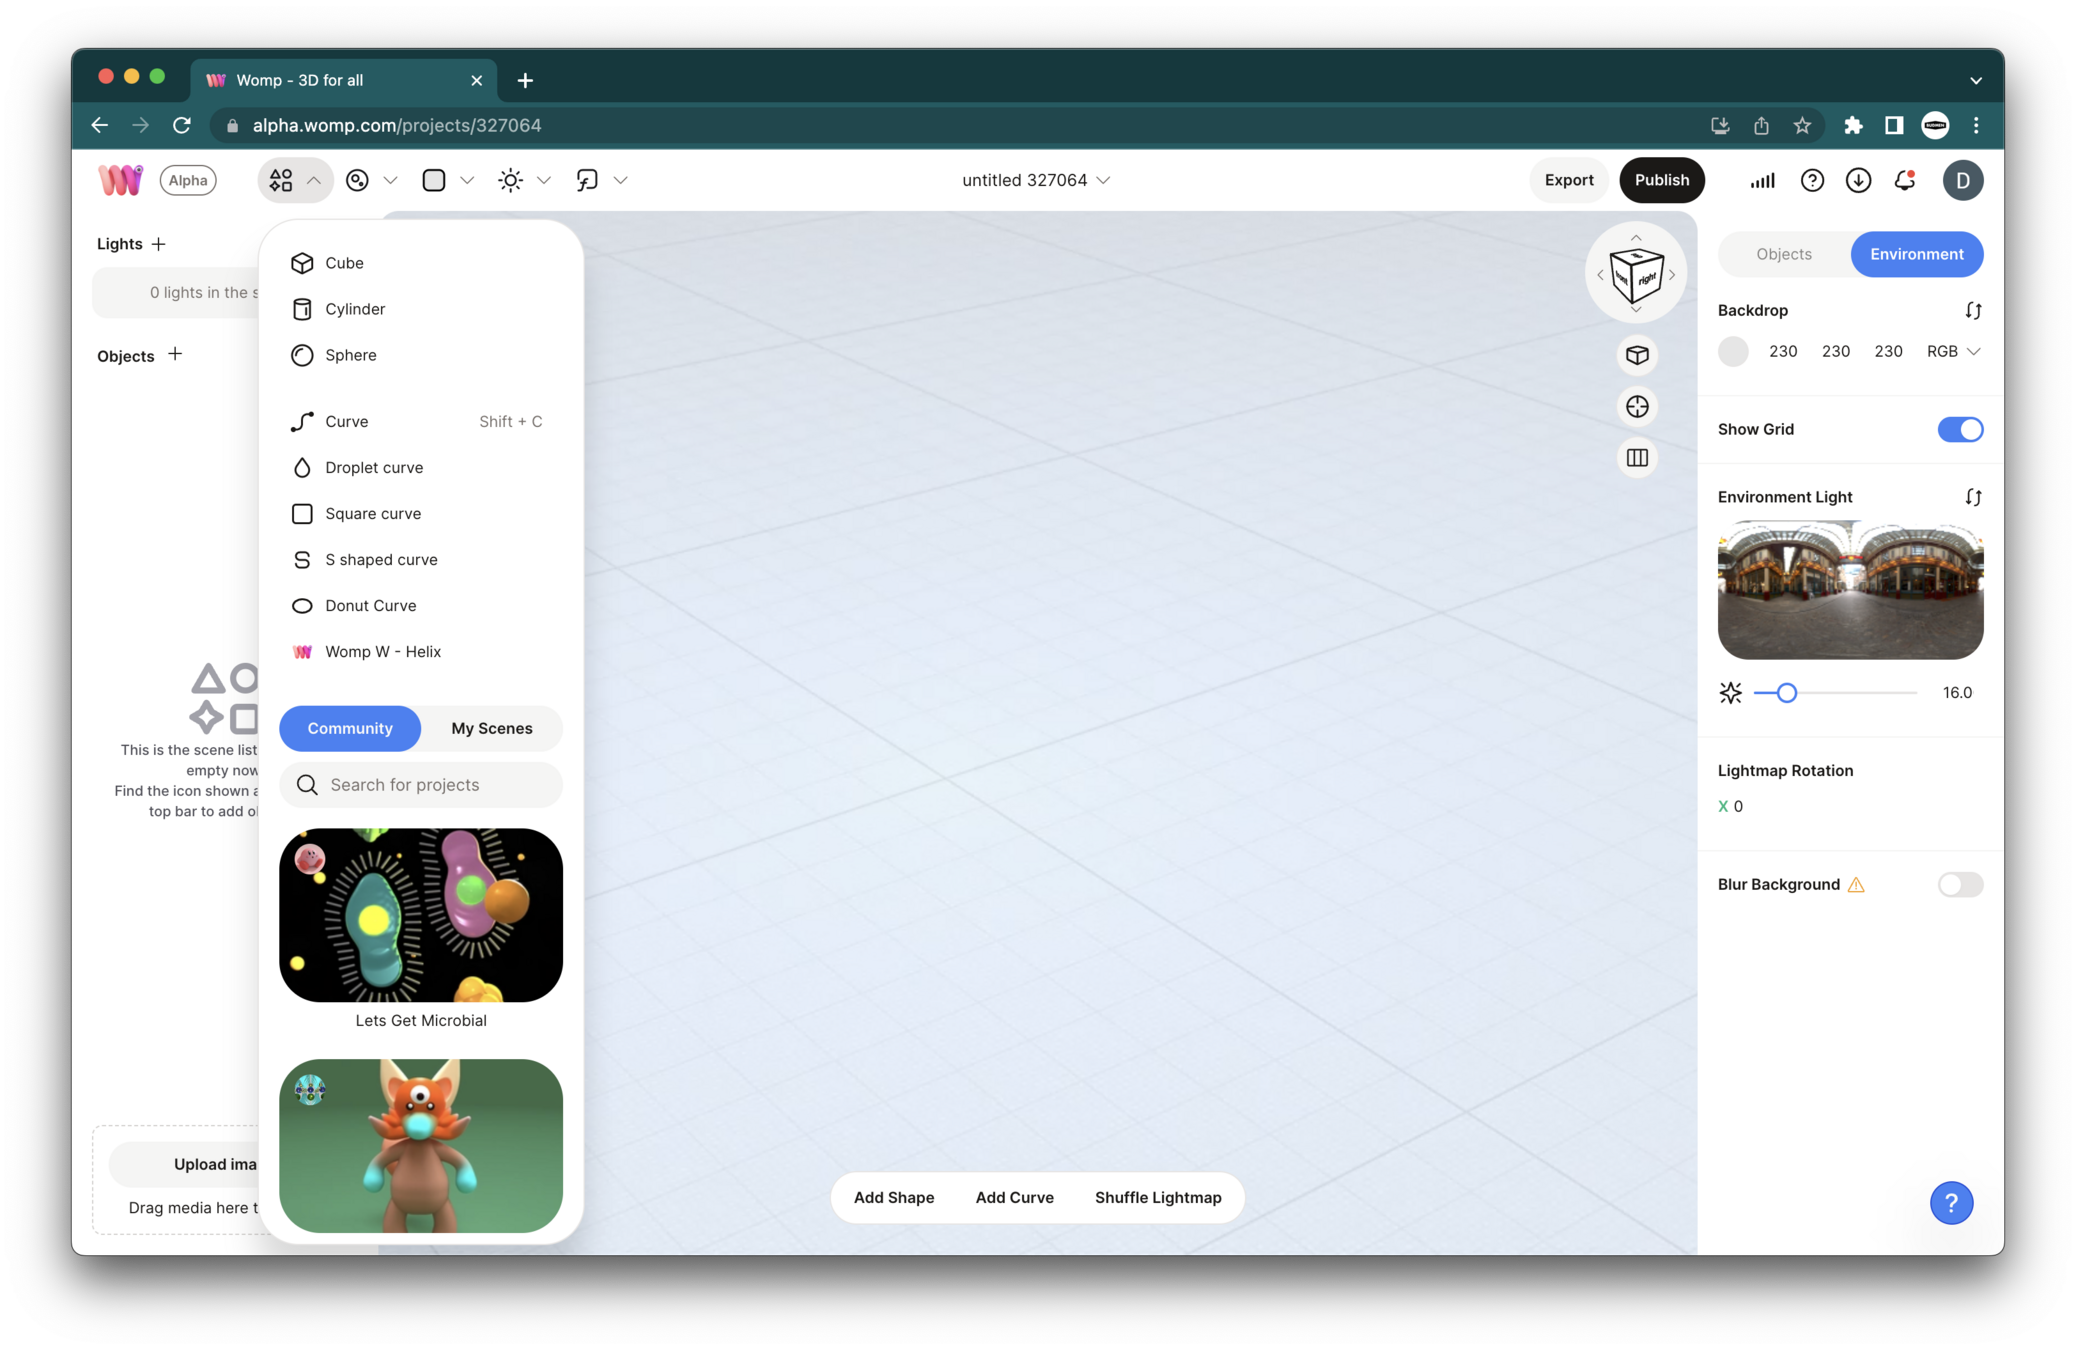
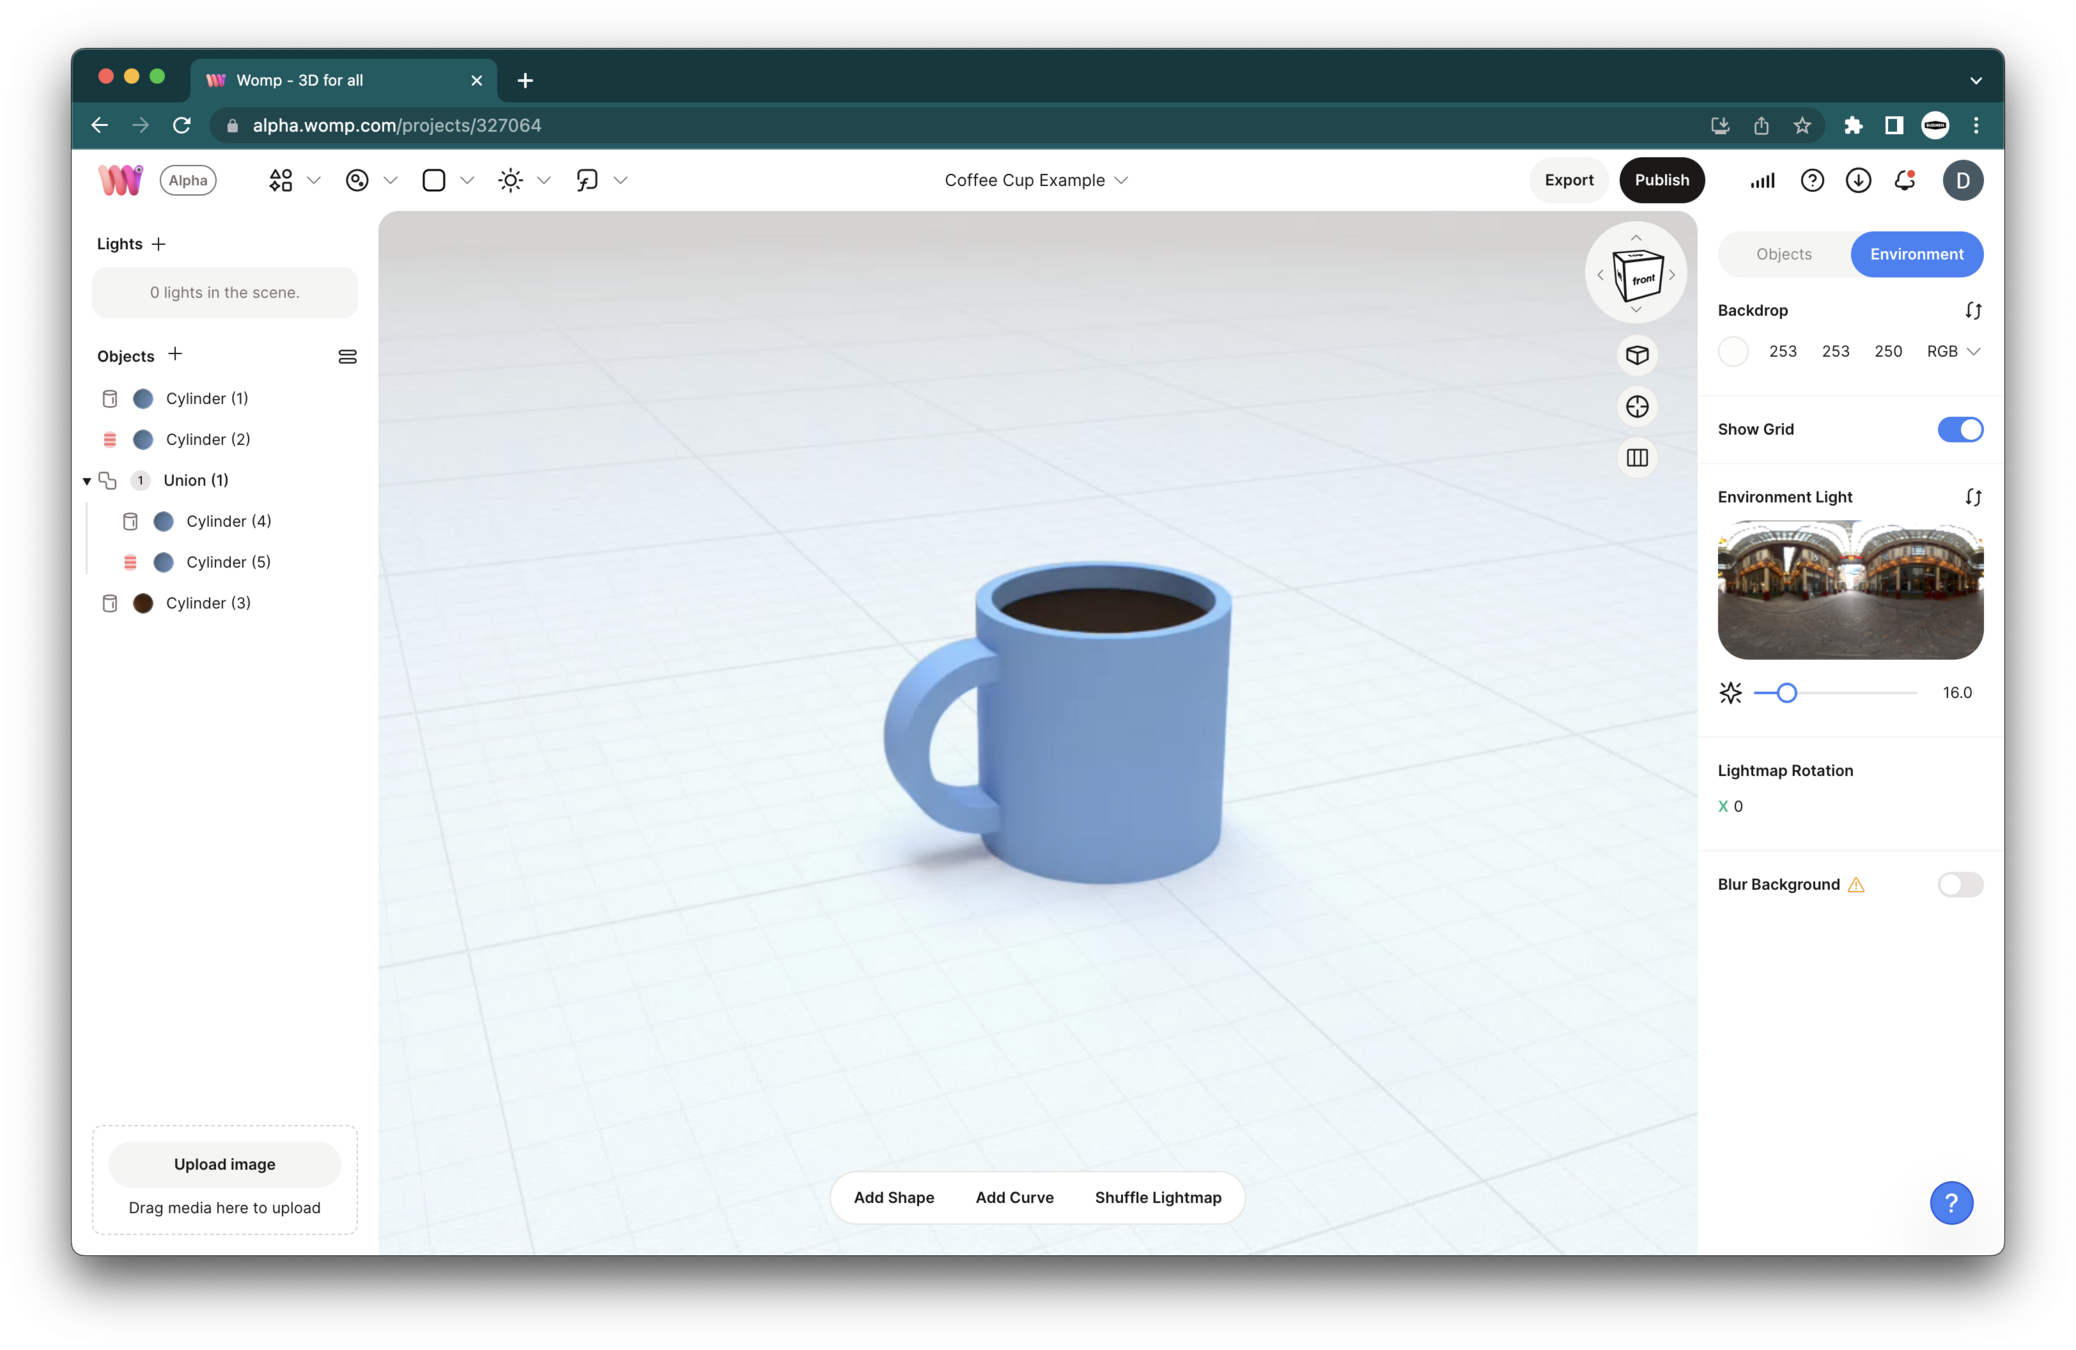
Primitives Menu: This is where you find basic shapes to start your model. Think of these as your building blocks.
Pro Tip: Navigating in Womp is simple. Left-click and drag to rotate your view, right-click and drag to pan, and use the mouse wheel to zoom in and out. It's like being a drone flying around your object!
Properties Menu:
This is where you can modify your selected shape's properties like color, metalness, roughness, and more. It's like your control panel for each shape.
Scene List: This is like your layer panel in Photoshop. It shows all the shapes (primitives) you have in your scene.
Before you start, check out these key Womp Functions!
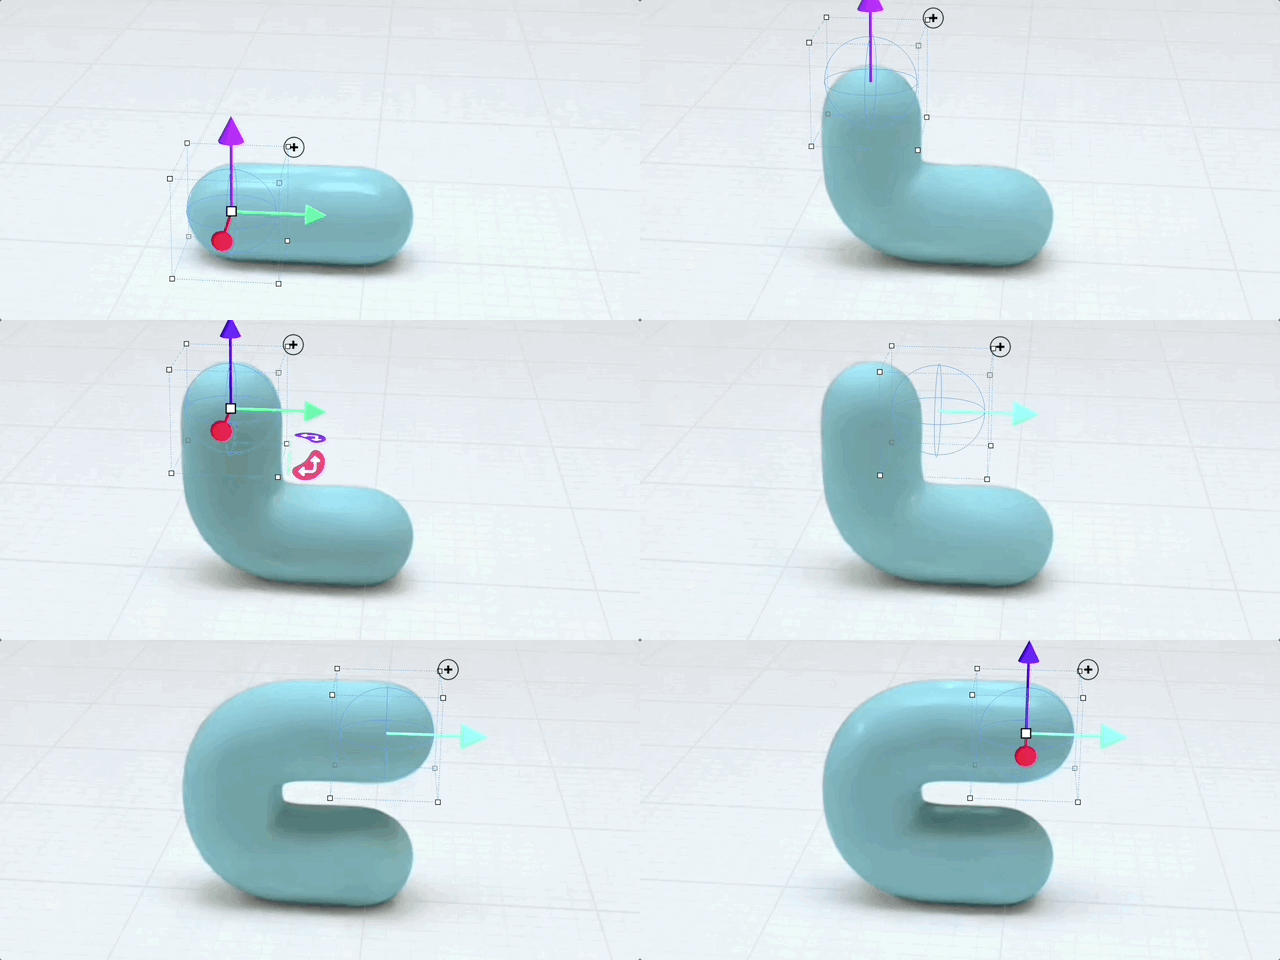
Union: This is like a folder or group where you can put all your shapes into one thing. It helps keep your work organized and allows for curve shapes.
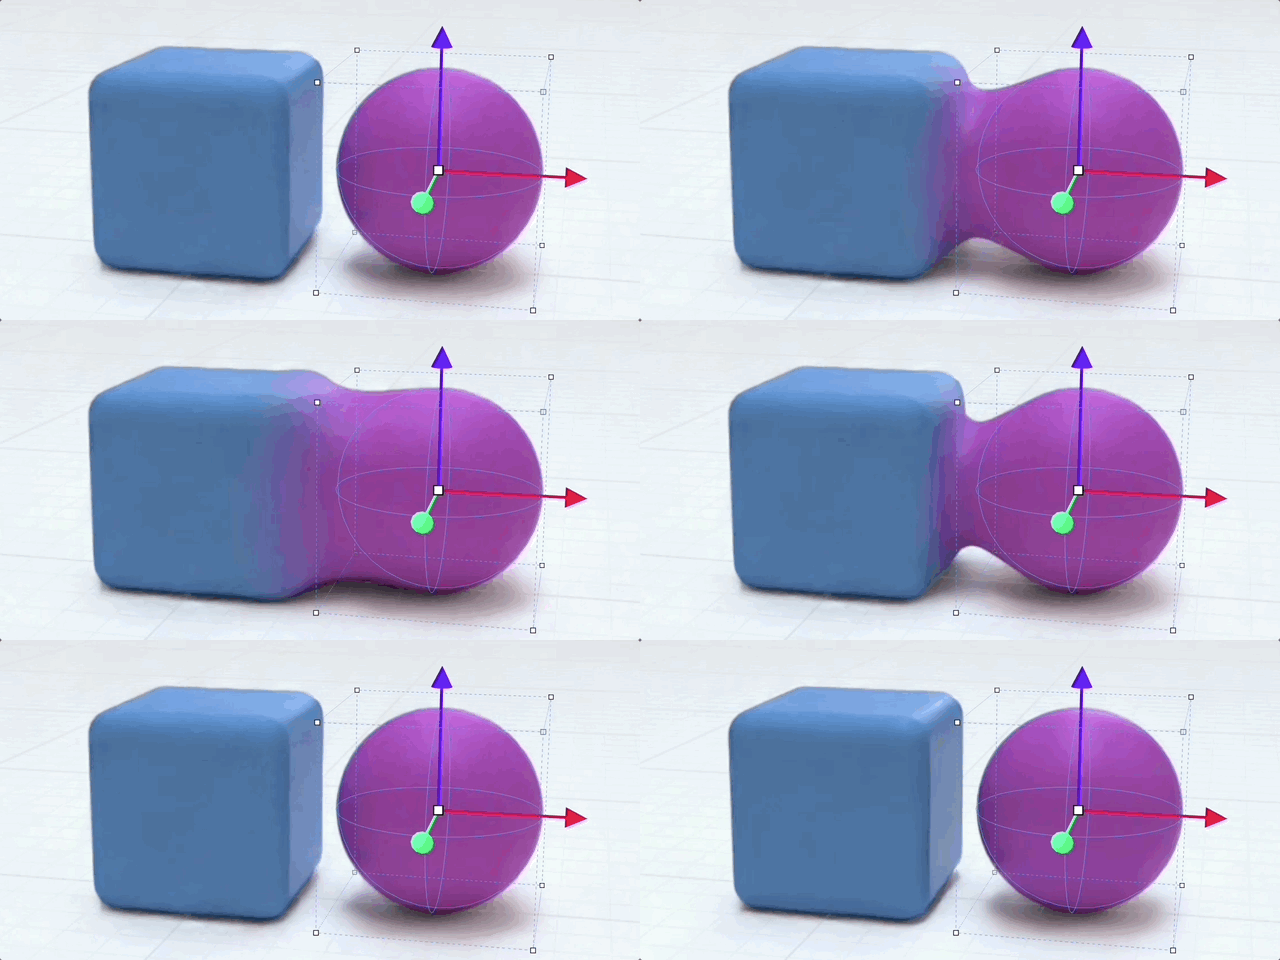
Gooping: A feature in Womp that allows you to blend primitives together. It's like mixing colors on a palette to create a new shade.
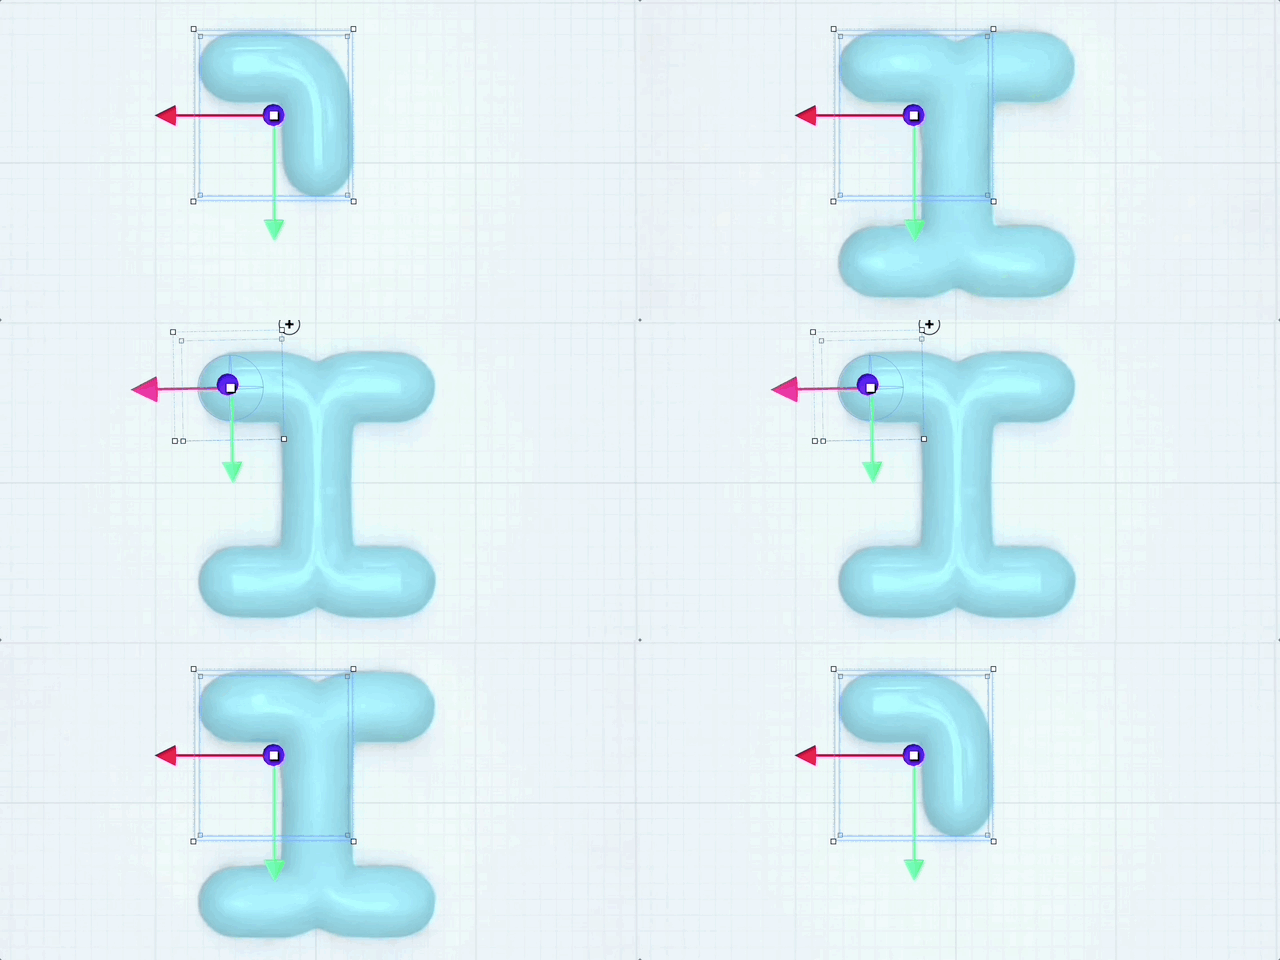
Mirror Function: This is a handy tool for creating symmetrical objects. It's like having a reflection in a mirror.
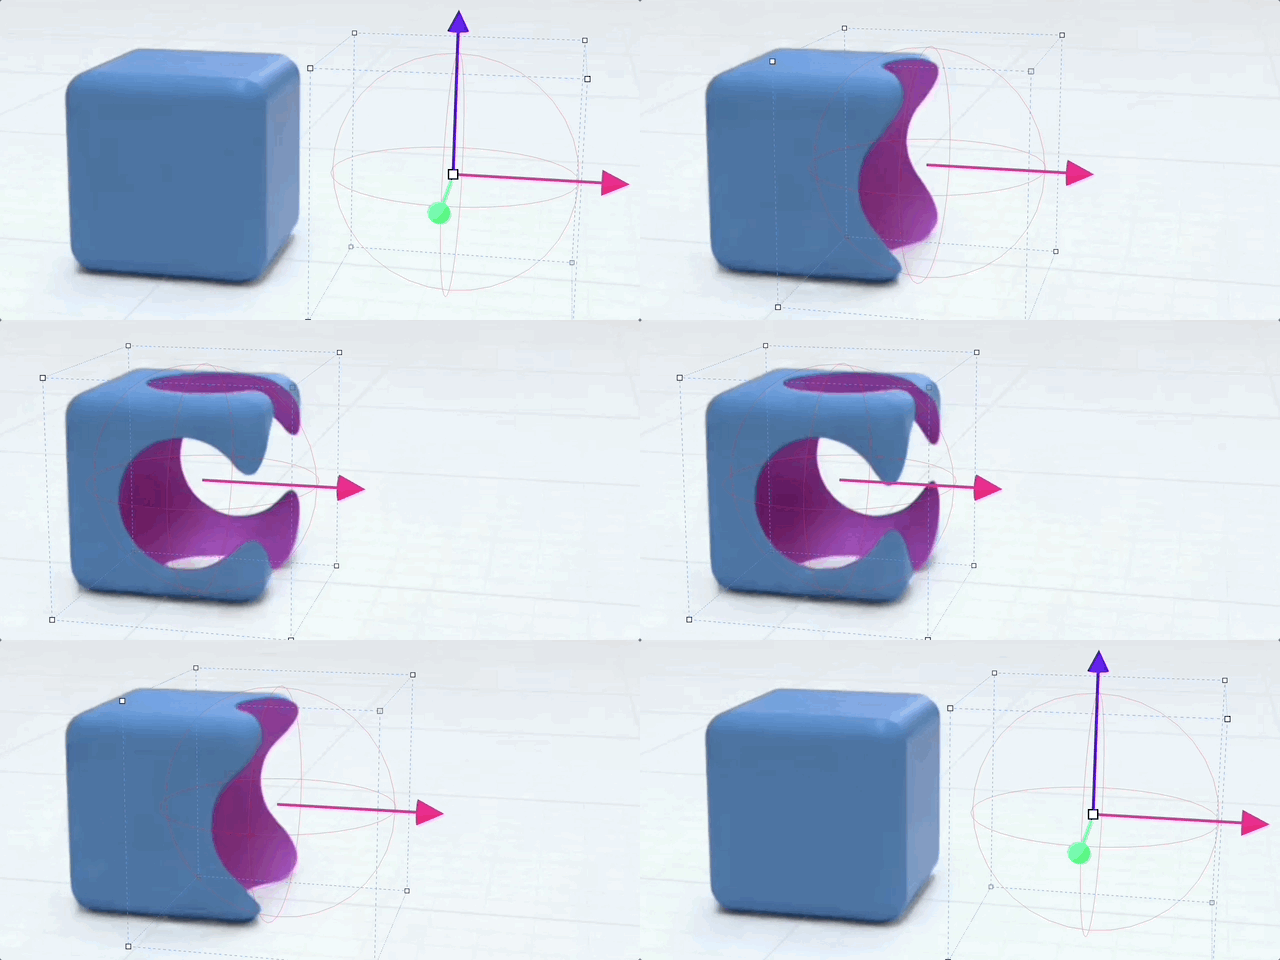
Negative Primitives: These shapes subtract from other shapes, like a cookie cutter.
Step 2: Creating the Cup
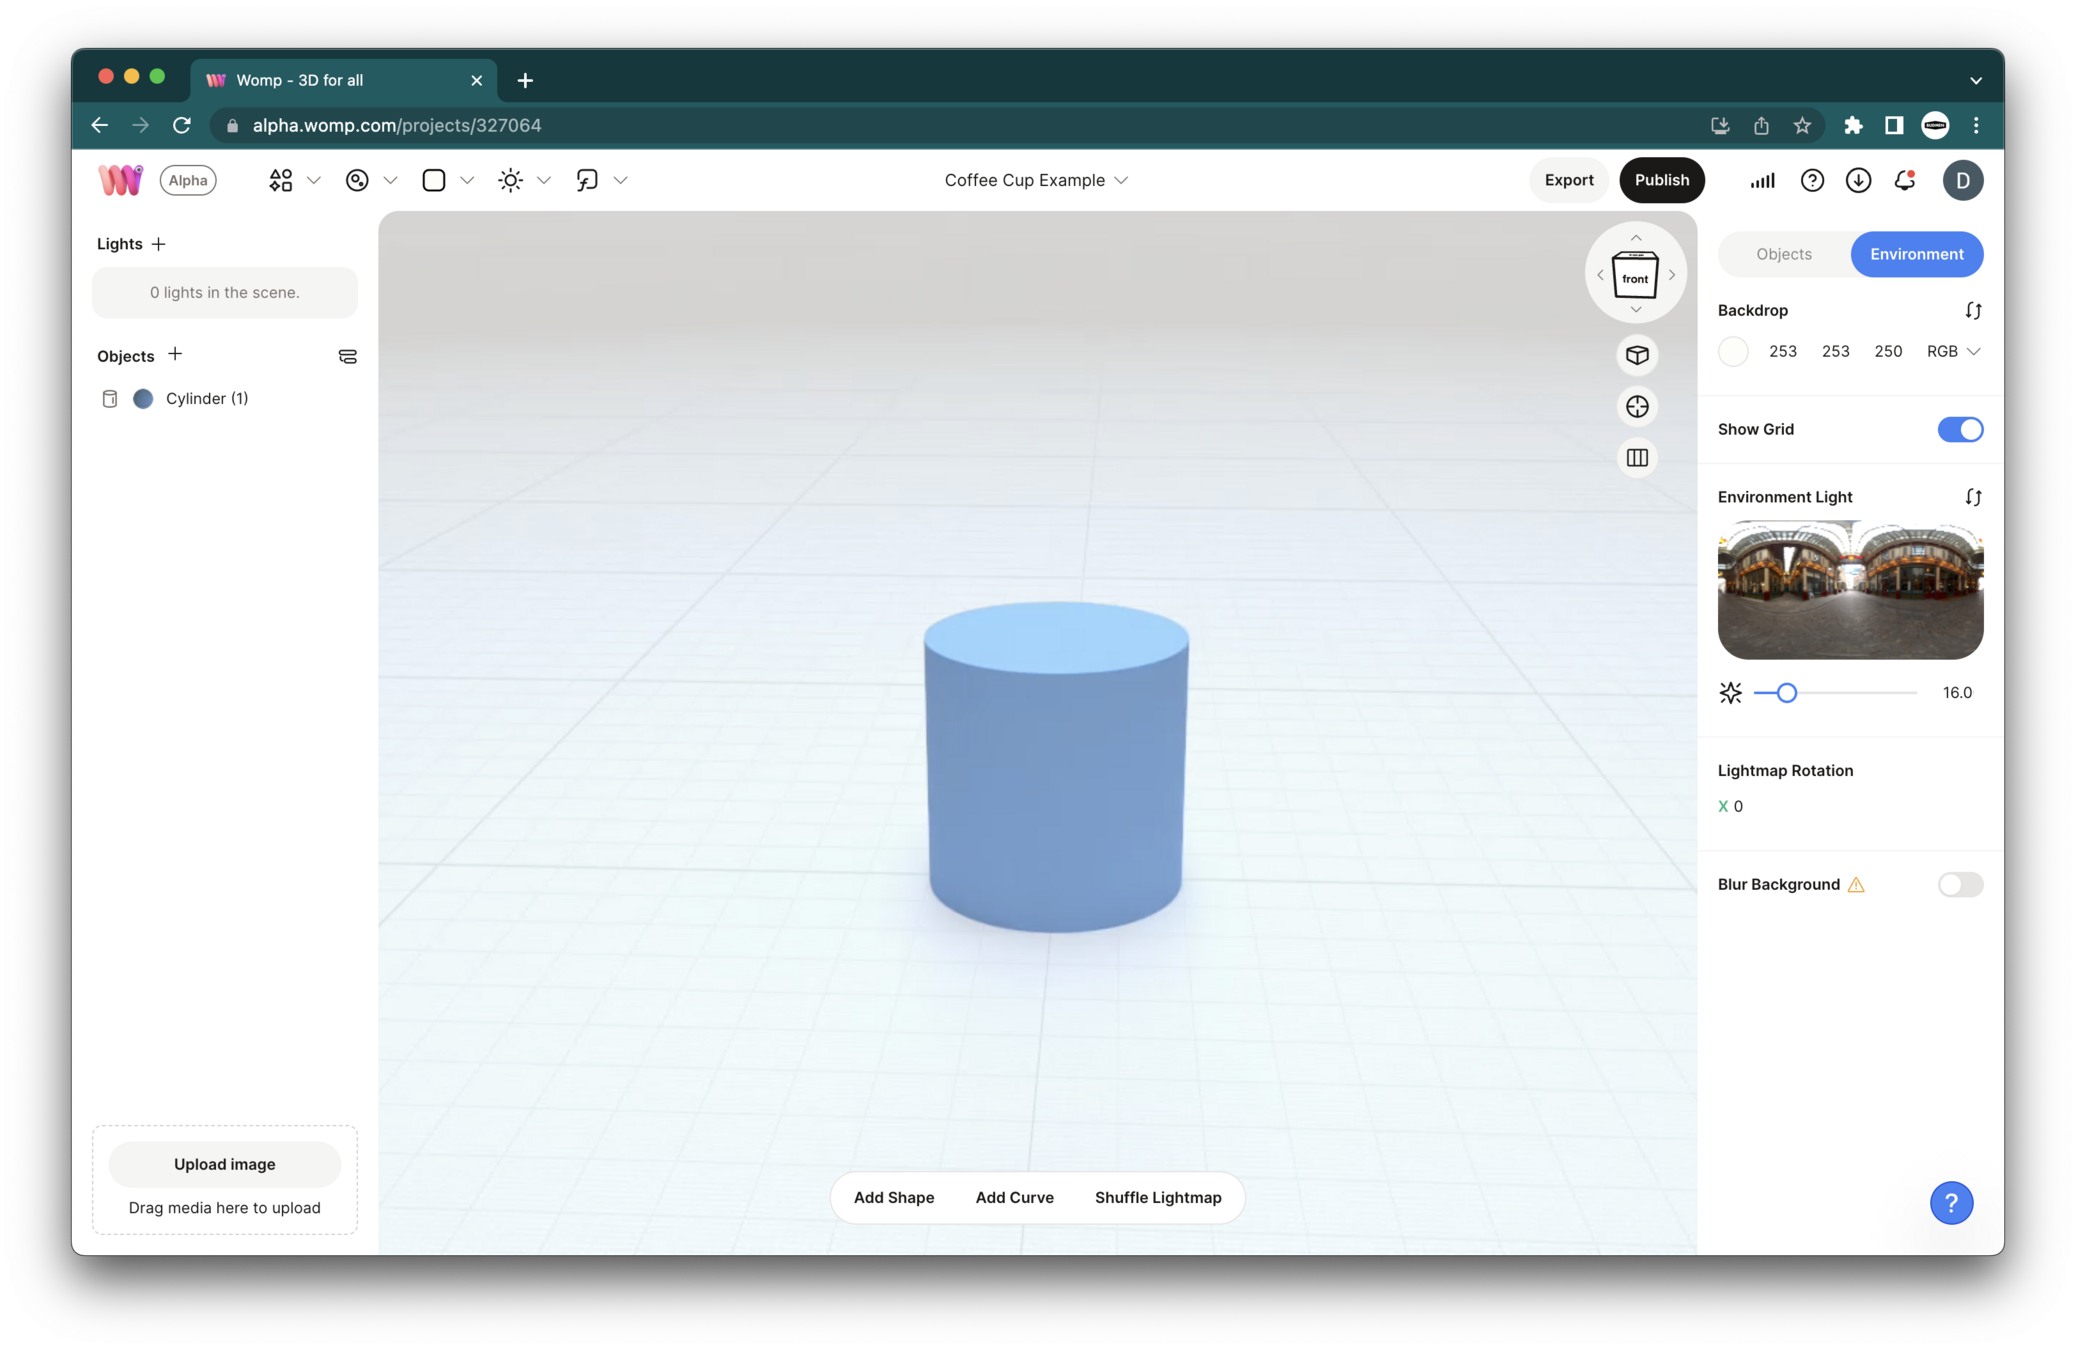
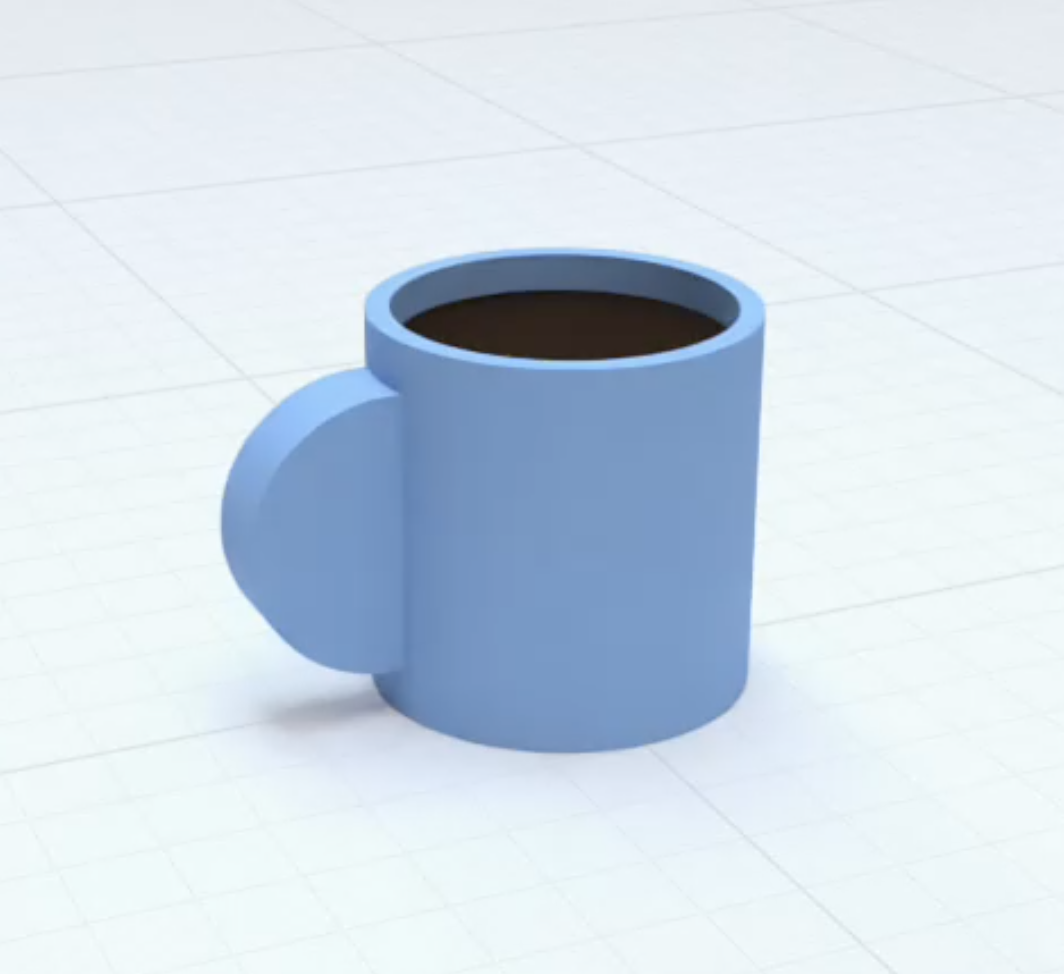
- Start with a basic cylinder shape from the Primitives menu.
- Select the cylinder to open its properties menu. Change the color to a light bluish tone.
- Adjust the metalness and roughness sliders to give your cup a realistic texture. High metalness and low roughness make it reflective, but for our coffee cup, we want low metalness and higher roughness.
Pro Tip: In Womp, it's best to copy shapes instead of adding new primitives. This keeps the same material and position as the shape before, saving you time!
Step 3: Making a Hole
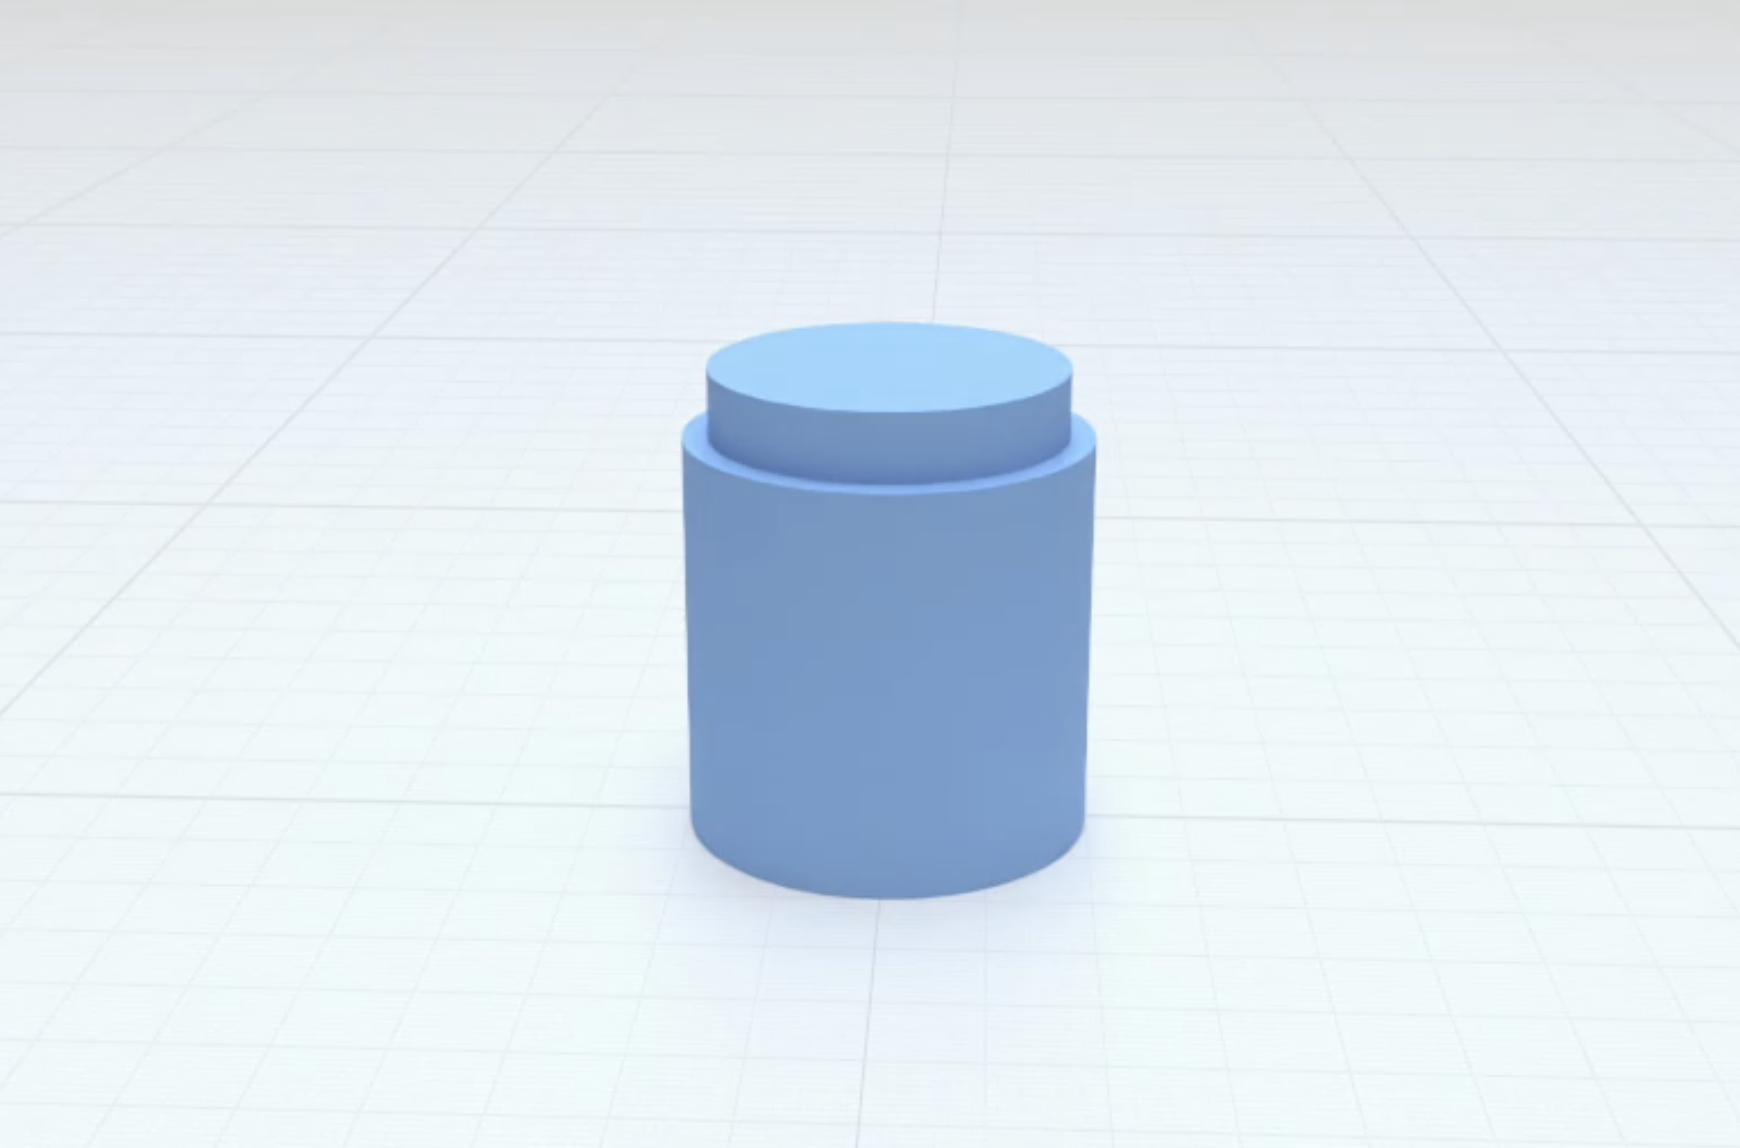
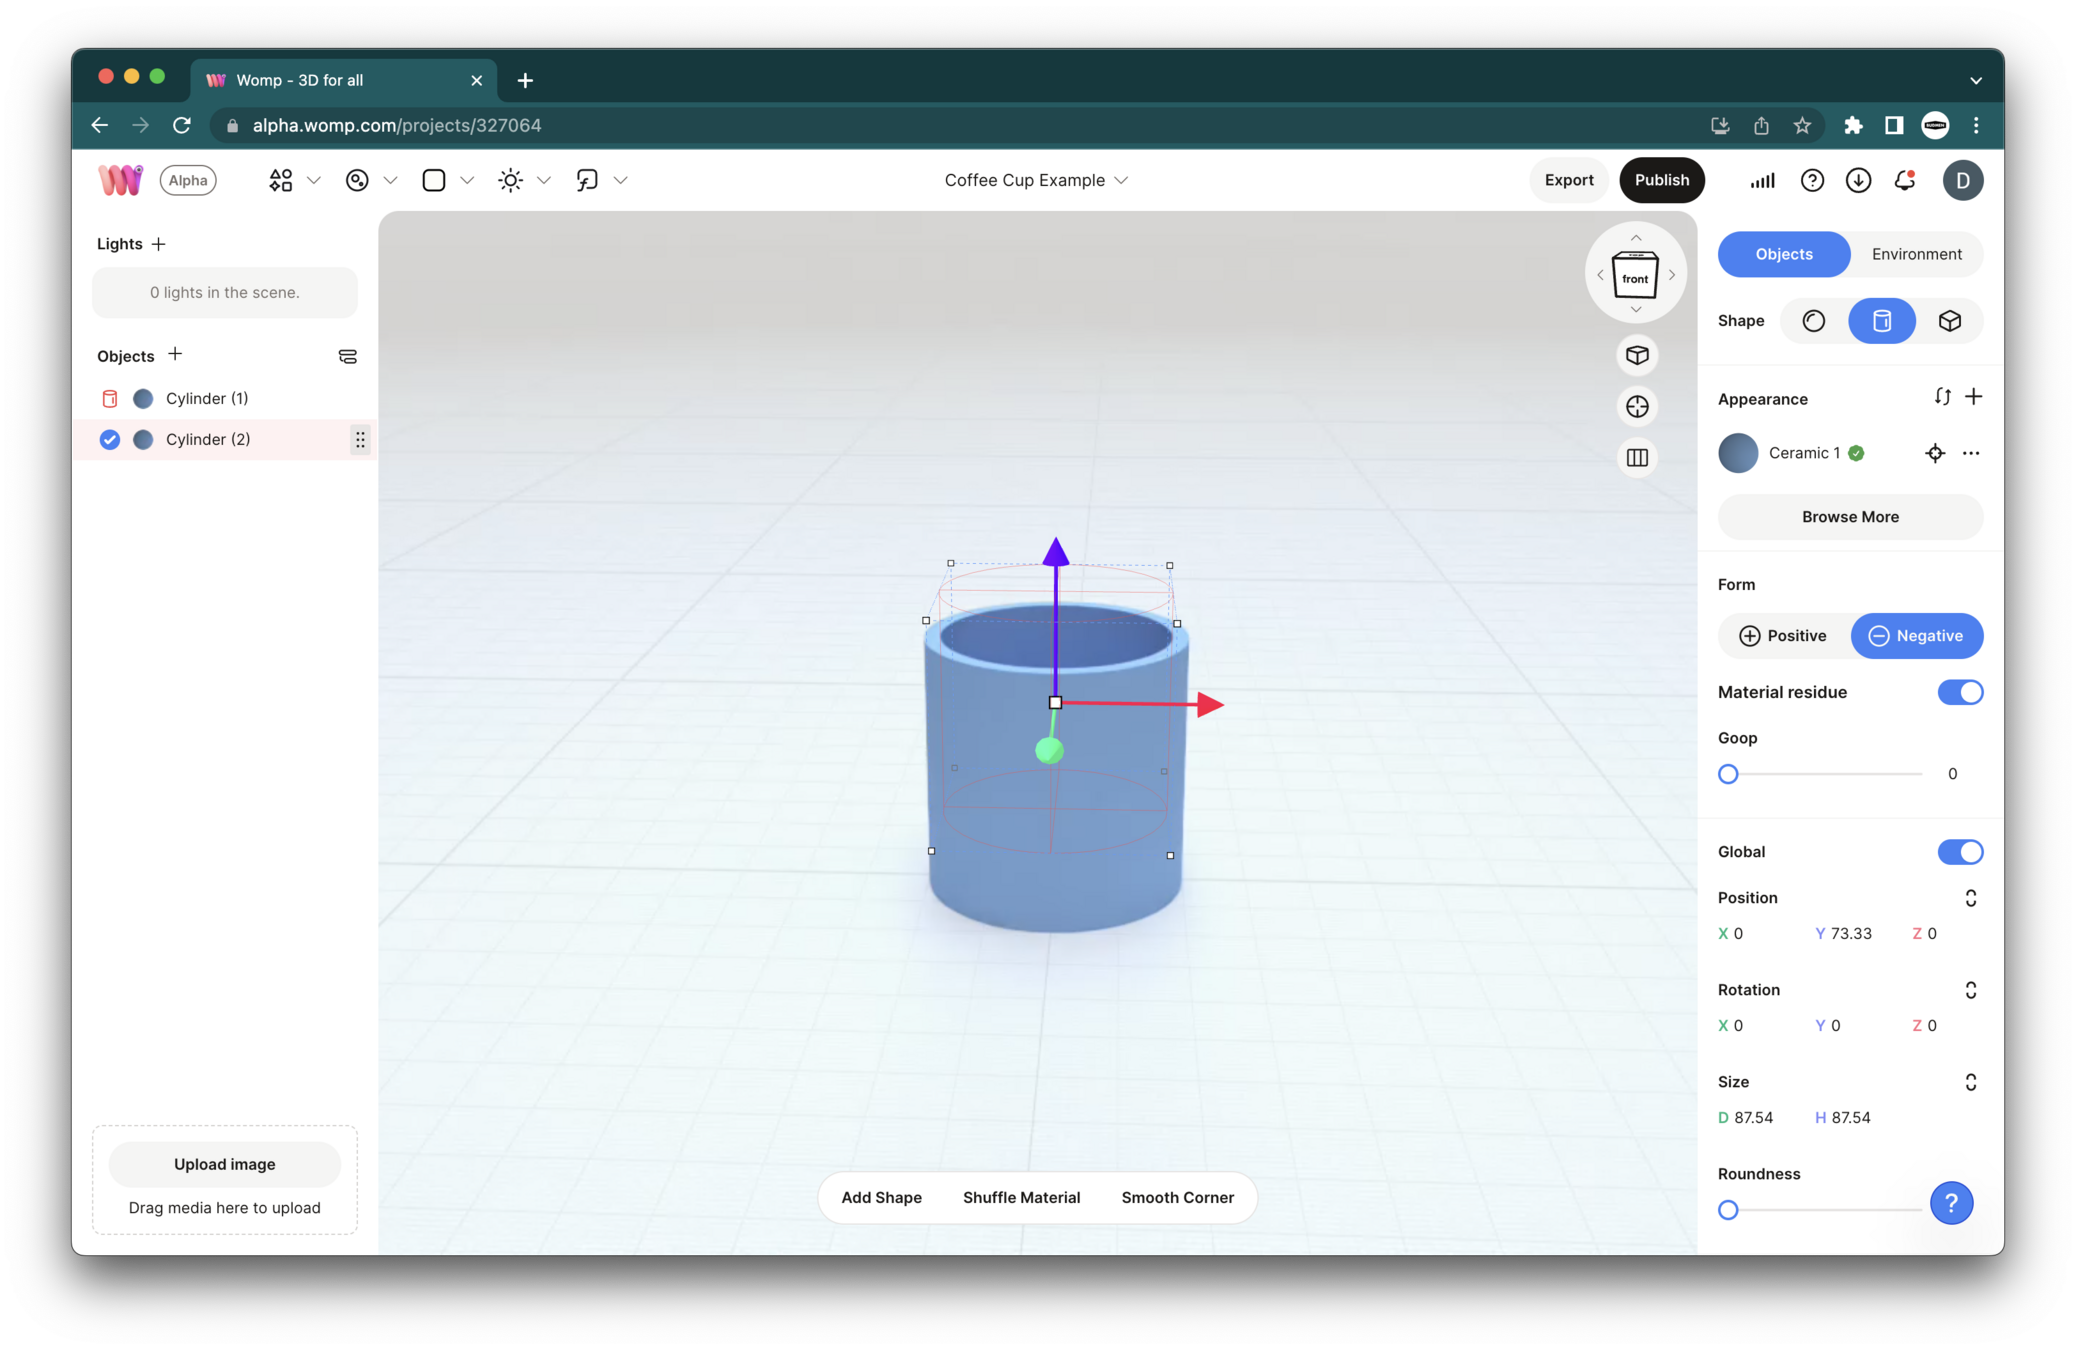
- Copy your cylinder and rescale it to be smaller. This will be the "hole" in your cup.
- Turn this smaller cylinder into a "negative" in the properties menu. This will cut a hole into your existing cylinder, like a cookie cutter!
Pro Tip: Use the "roundness" option in the properties menu to make the edges of your cup more organic and realistic.
Step 4: Adding the Coffee
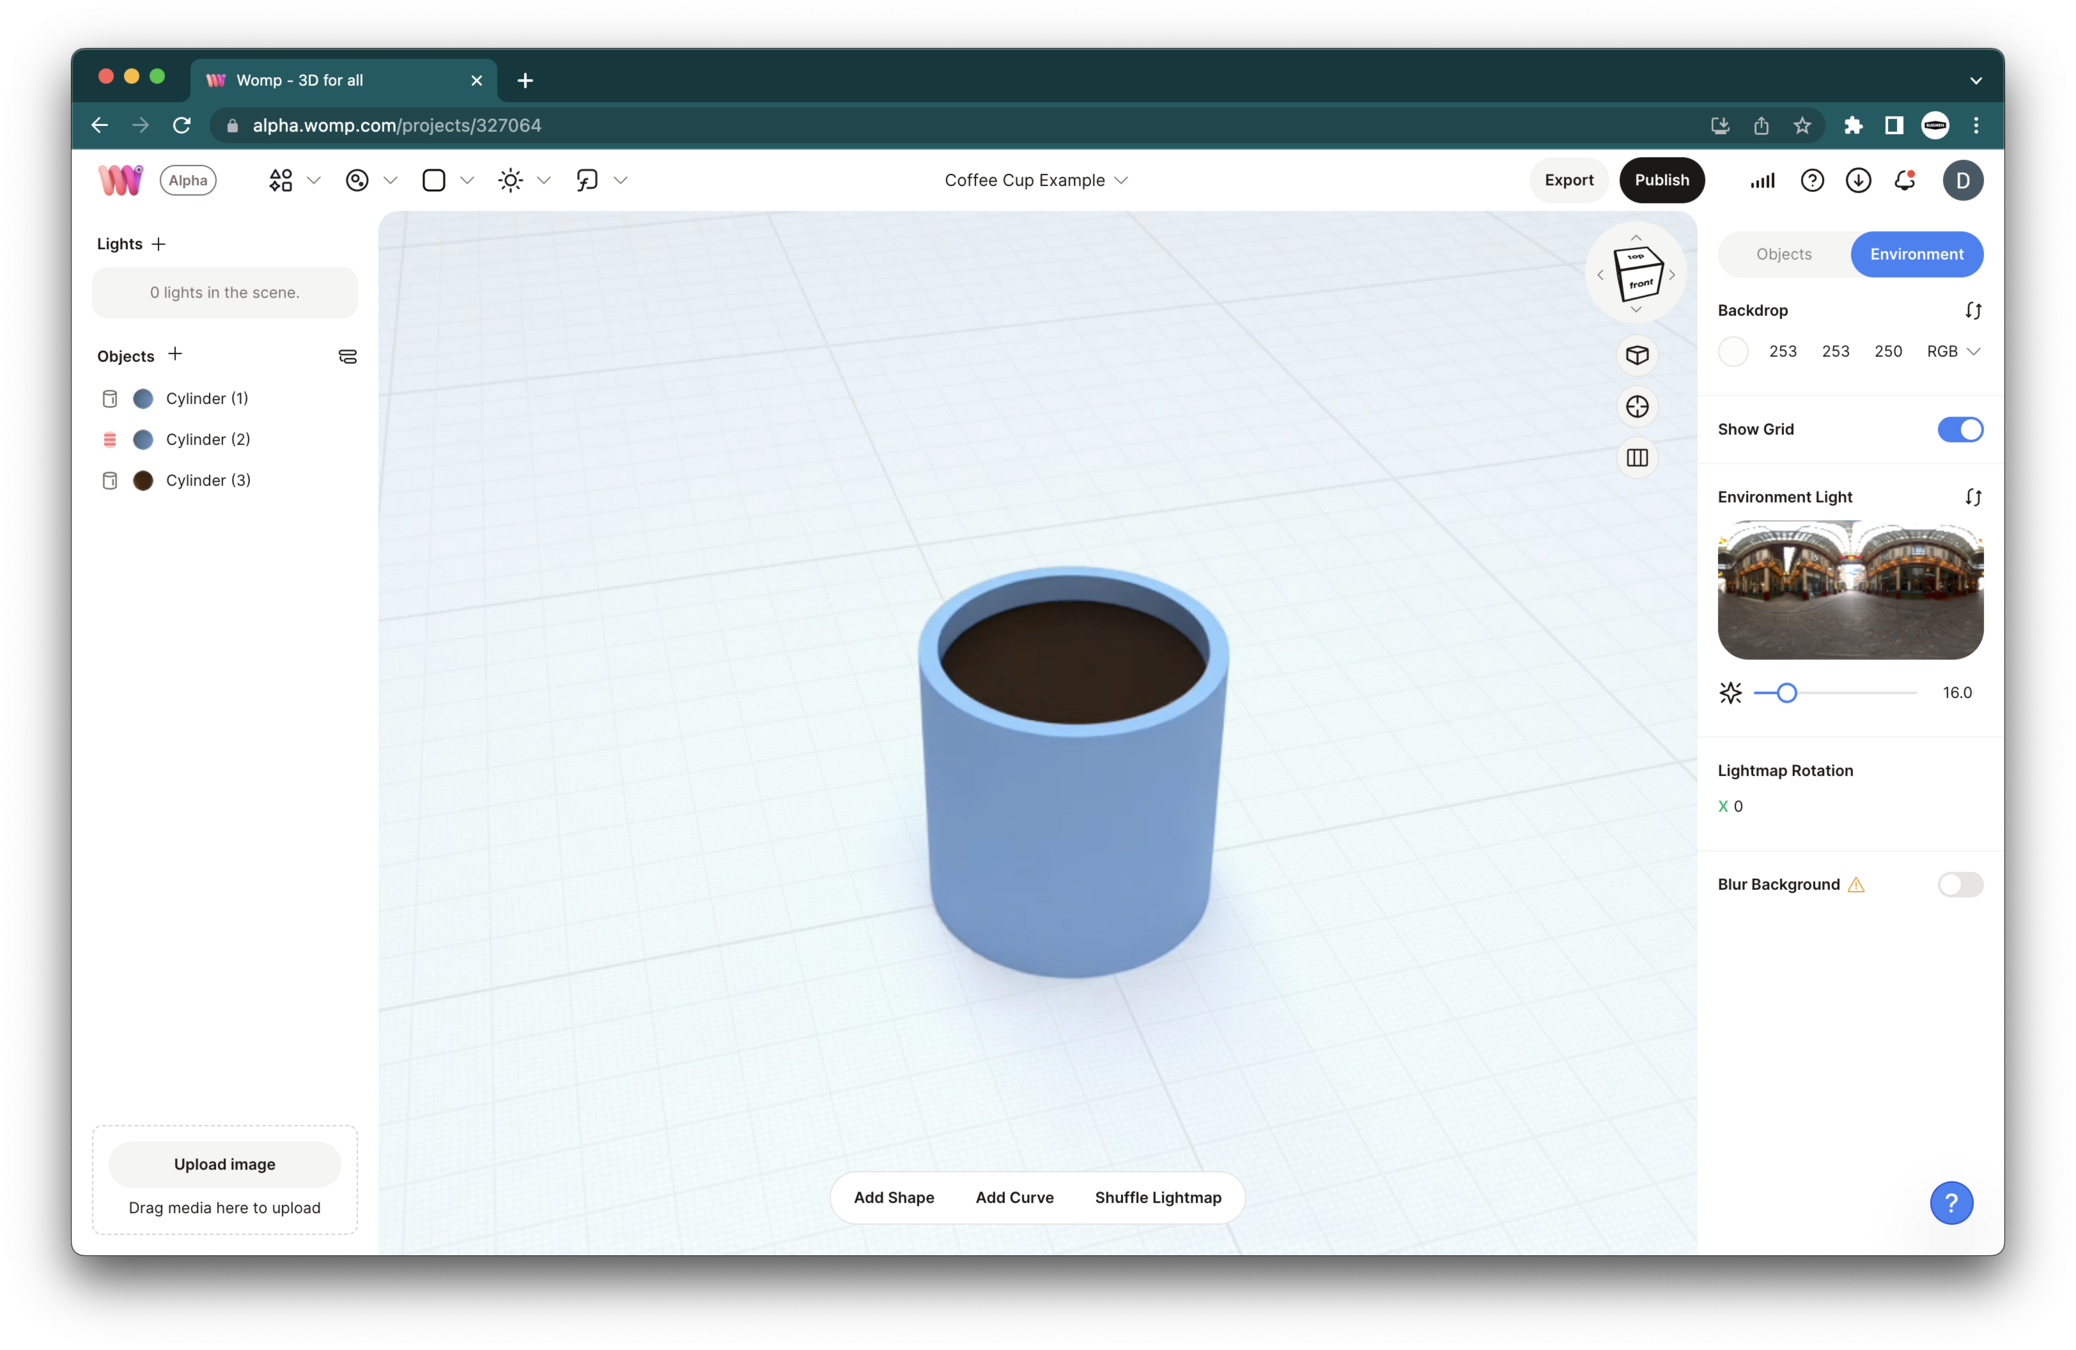
- Copy the original cylinder again. This will be your "coffee."
- Change the color to a dark brown in the properties menu.
- Adjust the roughness and use the glass slider to make it look like liquid.
Pro Tip: If your "coffee" is affected by the negative cylinder (the hole), drag it below the negative cylinder in the scene list. This will make it immune to the hole's effect.
Step 5: Creating the Handle
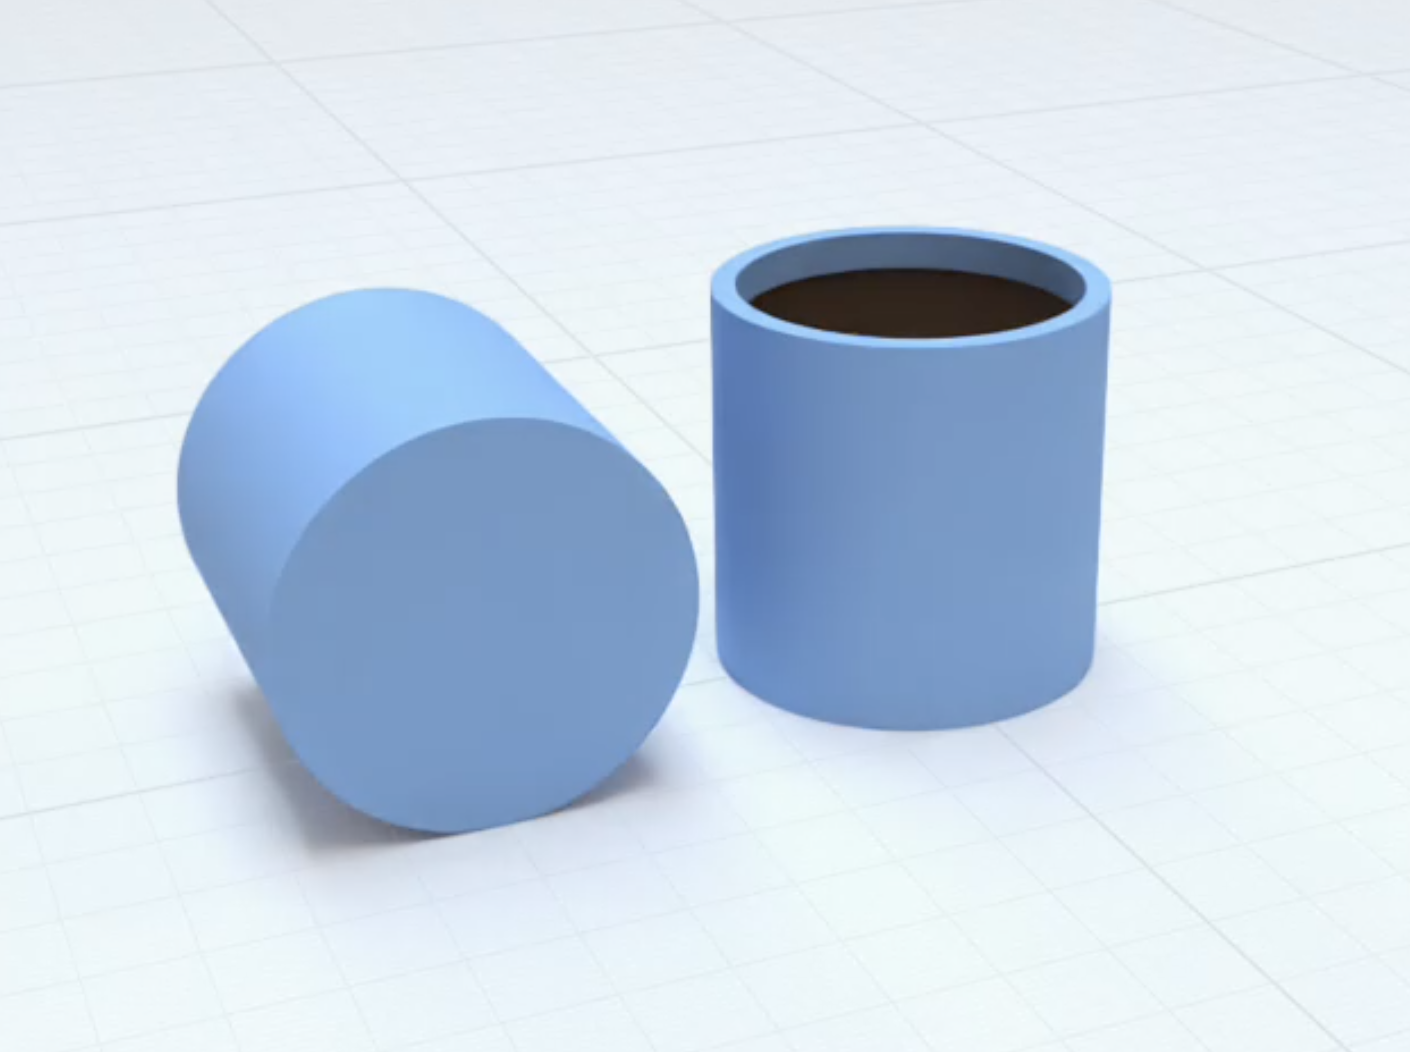
- Copy the original cylinder and rotate it to form the handle.
- Copy this handle shape, scale it smaller, and turn it into a negative to create a hollow space in the handle.
- Hold shift and click on the positive and negative cylinders you just created. Right click and select union. This will prevent the new negative from affecting the cup body.
Pro Tip: Use the "roundness" option and the "group strength" to make the handle look more organic and comfortable to hold.
Step 6: Finalizing Your Model
- Select all your primitives in the scene list and put them together into one "Union." This is like grouping your shapes into one folder.
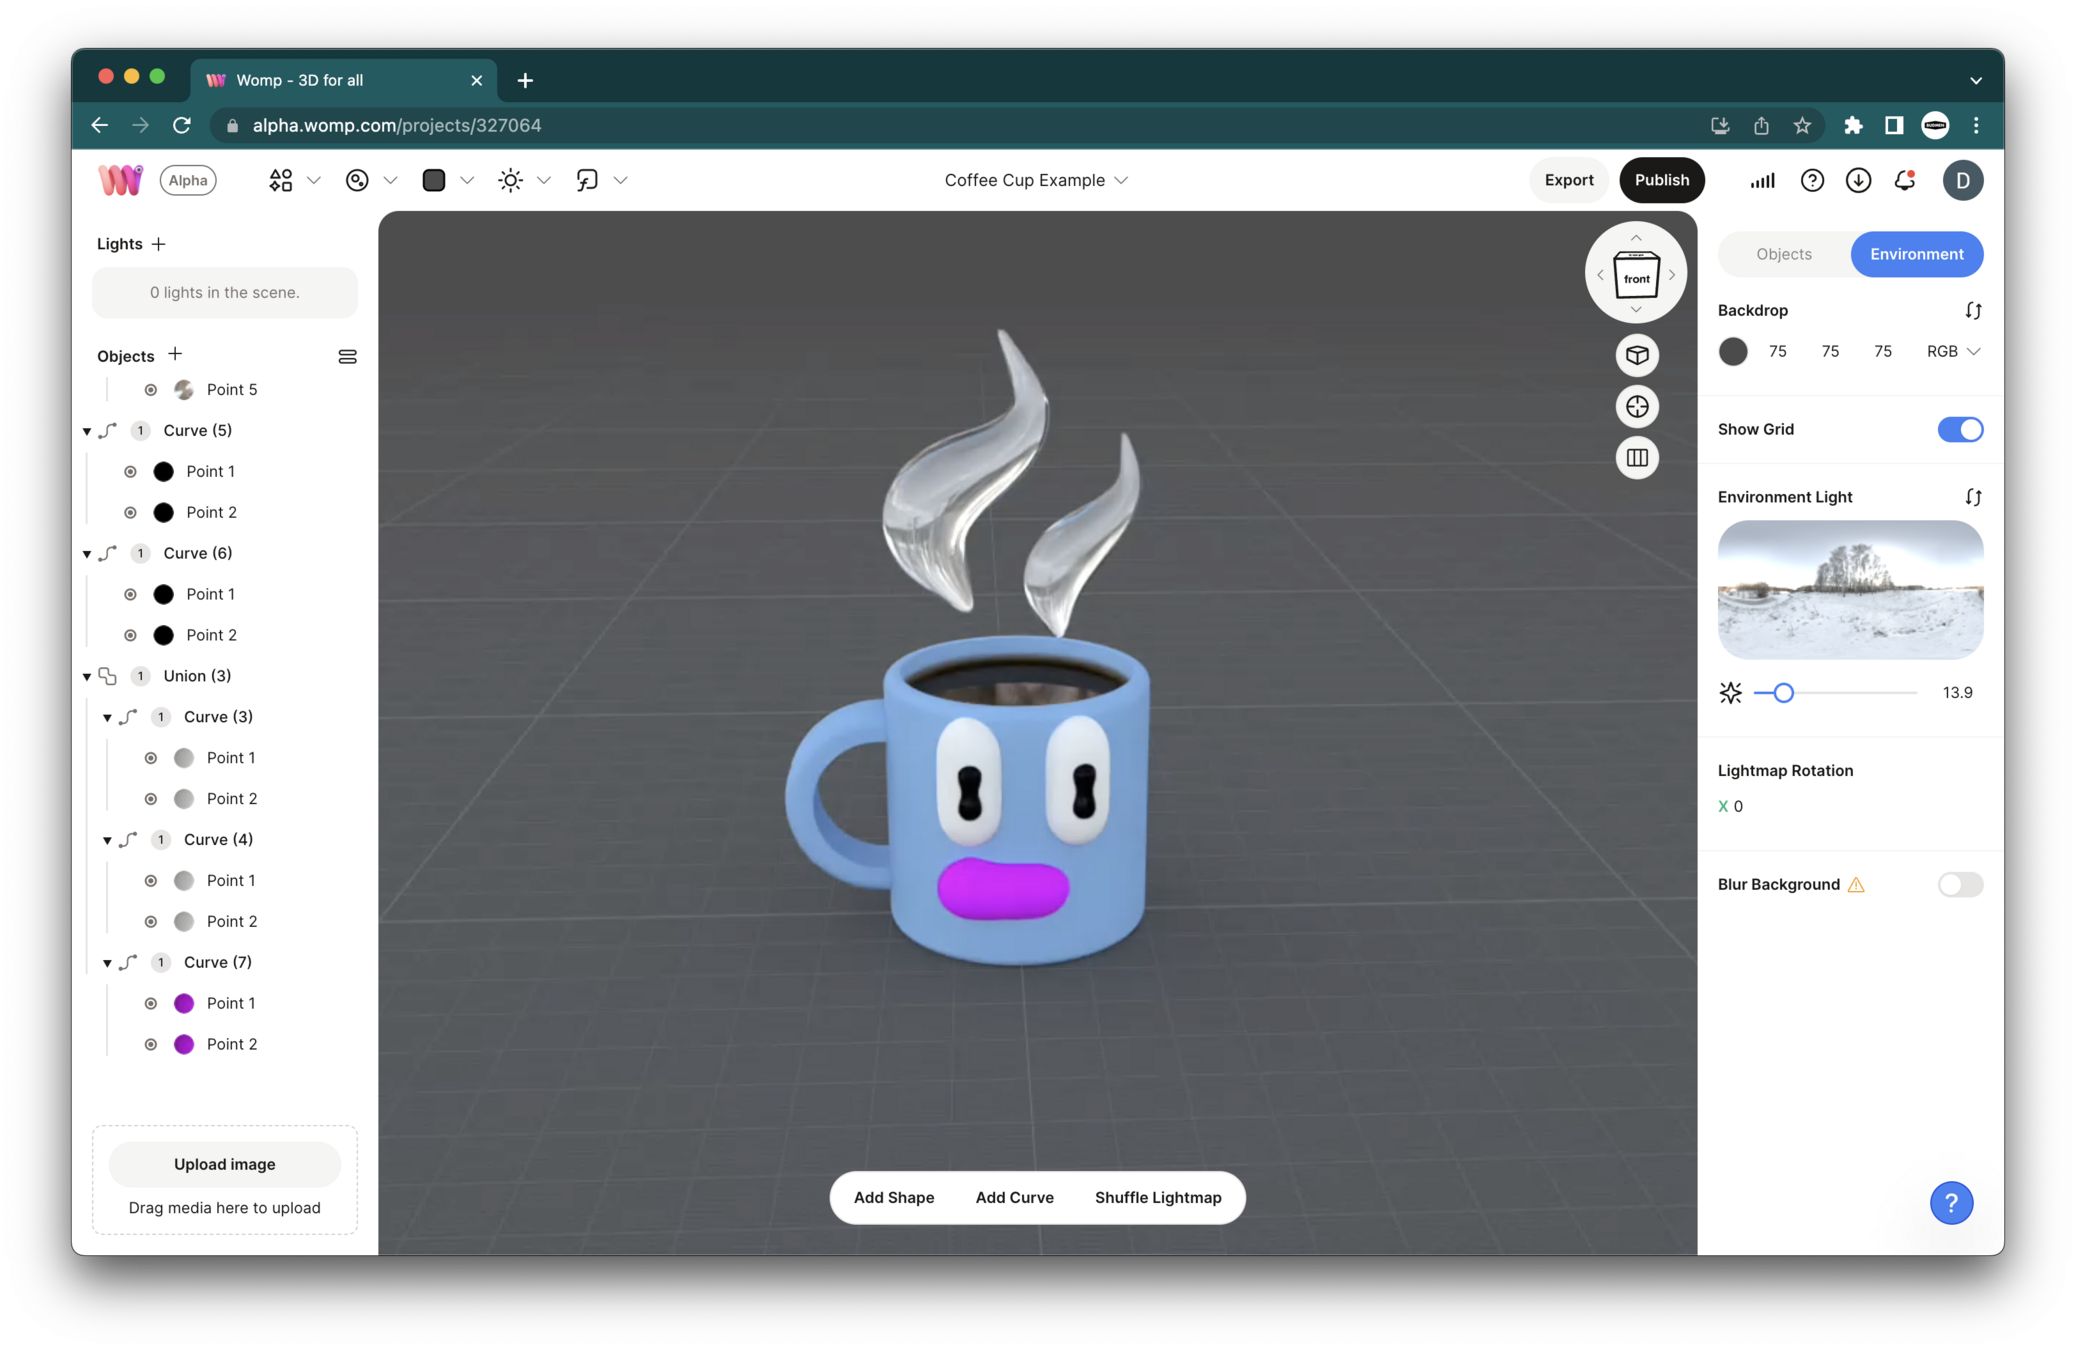
- Add some extras like steam or eyes to give your cup character.
- Turn off the floor grid and choose a backdrop color.
Pro Tip: Use the mirror function in the properties menu to create symmetrical objects, like eyes!
Step 7: Sharing Your Model
- Make sure your model is in the center of the scene.
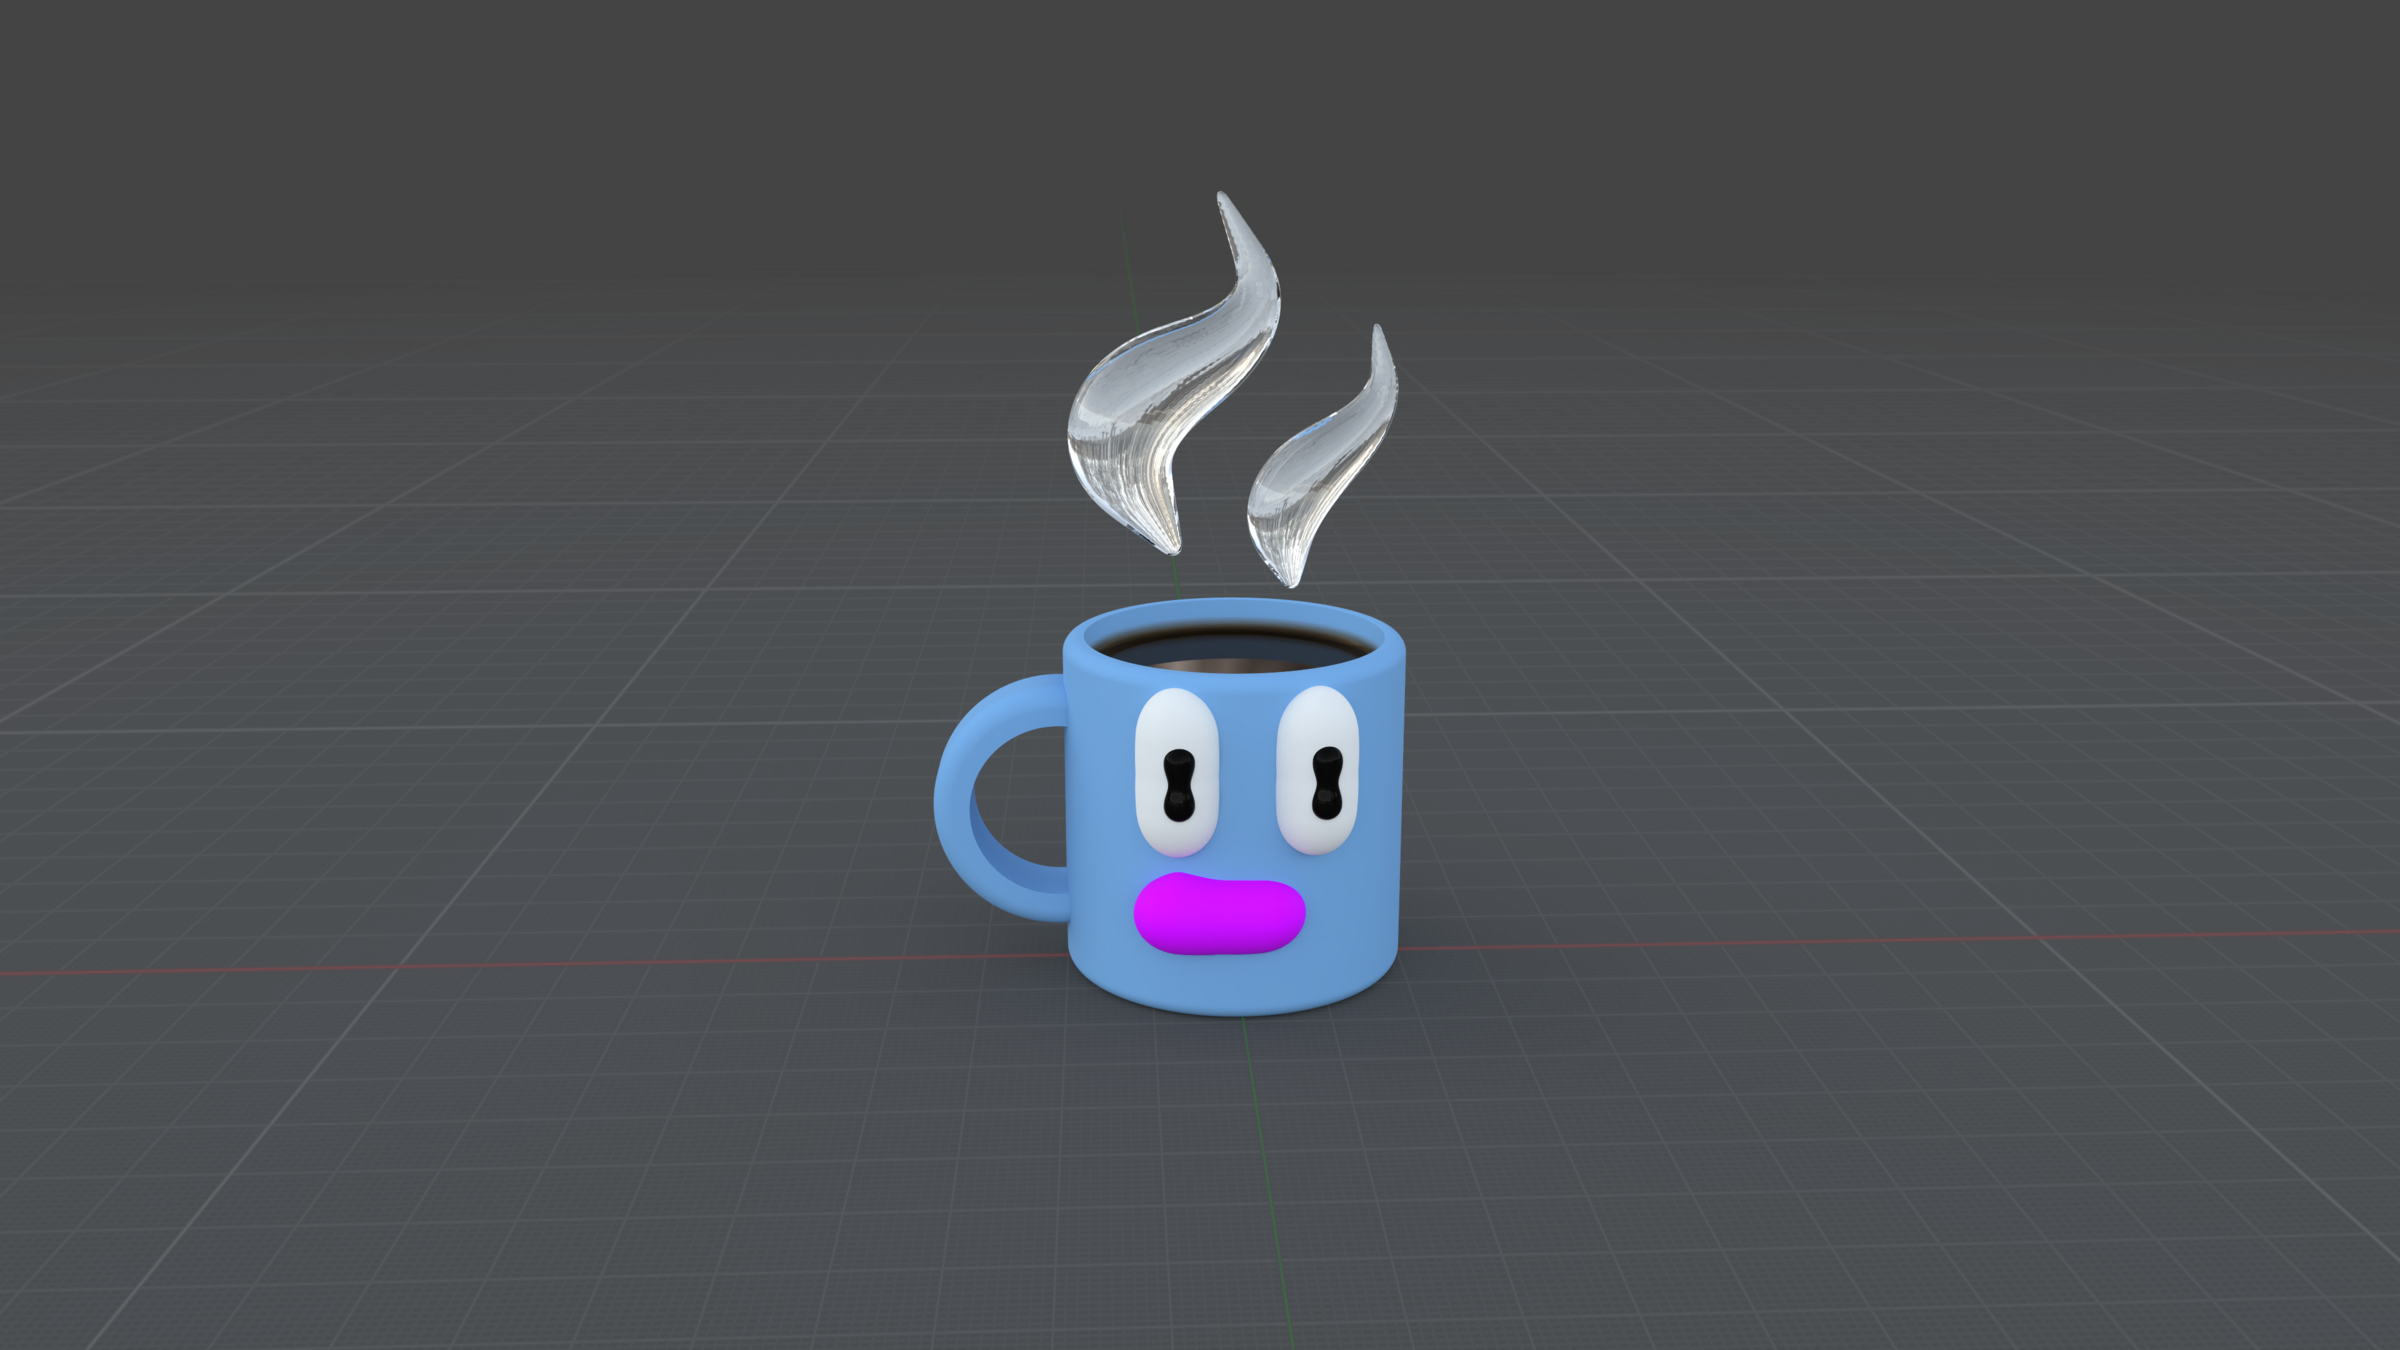
- Click on the export button to download an image of your model and show your creation to your friends!

Next Level Unlocked!
You've successfully created your first WOMP model!
Continue to explore and experiment with different shapes, properties, and techniques.
